New to Yoga? Six Ways to Modify Popular Poses
The yoga studio is supposed to be a place of inspired calm and relaxation, but if you are new to yoga, it’s common to feel anxiety rather than zen on your first few visits.
With these helpful modifications for some of the most common poses, you’ll be chanting “om” in no time.
1. Child’s Pose
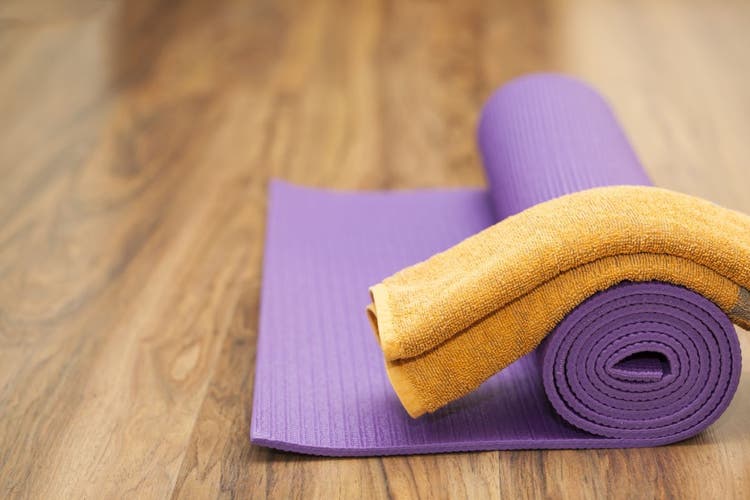
If the commonly practiced child’s pose causes pain in your knees, relieve it by widening your knees, keeping your feet together or by simply tucking a towel between your bottom and heels. Or, focus on the stretch in your arms, upper back and shoulders by lifting your seat high into the air. This will help take the pressure off your knees, allowing you to feel the stretch elsewhere. Many studios have blankets or towels that can be used by students, or you may also choose to bring your own from home.
2. Cat Pose
If you’re feeling pain in your wrists while in cat pose, consider a modification that takes the pressure off your fingers, wrists and hands by using your fists instead. You can also do the cat pose in a seated position. Simply focus on the entire range of motion of your spine while arching and flexing your back. You can add extra cushion by folding your yoga mat toward you or, if desired, bring a folded blanket or use an extra mat under the knees for extra cushion.
3. Downward-Facing Dog
It’s common for tight hamstrings to make this pose uncomfortable and difficult. Begin with bent knees and bring your tailbone high while focusing on lengthening your back — or take a wider base with your feet to ease the strain. You’ll soon feel the backs of your legs begin to loosen up. Once you feel this, bring your heels down to the mat one at a time. If you’re feeling pain in your wrists, bring your forearms and elbows to the mat with your palms flat, shoulder-width apart, while lifting your hips into the dolphin pose. At home, you can use a chair to modify this pose into a standing position. Simply place both hands on a sturdy chair while hinging forward to stretch the hamstrings.
4. Pigeon
We hold a lot of tension in our hips. Yoga can help release some of that built-up tension. Pigeon pose is a powerful hip opener; however, sometimes this pose causes too much pressure in the knees. Instead of the traditional pigeon pose, start by lying on your back, crossing your ankle to your opposite knee and bending the bottom knee toward your chest. Keep pressing your top knee out to the side. This modification is called upside-down pigeon and it can help stretch your hips while also protecting your knees.
5. Shoulder Stand
Inversions are a great part of a complete yoga practice, but not always comfortable or suitable for all practitioners. There are many poses that can be assisted by using a wall, one of which is the modification for the shoulder stand. Begin by lying on your back and moving your seat as close to the wall as possible. Extend your legs up the wall so that your spine and legs form of an “L” shape. Then, you can bend your knees 90 degrees, press your feet into the wall and push your hips forward, lengthening your spine. This modification has the same benefits of the inversion shoulder stand without putting all of the pressure on your spine.
6. Savasana
Savasana gets a bad rap for being the end-of-yoga resting pose, however, it’s essential to yoga practice. It looks easy, but quieting your body and mind is harder than it seems. Savasana takes concentration and intention. If you have tension of pain in your lower back, modify this position by bending your knees and placing your feet flat on the floor. Place your arms so your shoulders naturally sink deep into the mat. Relax your muscles one at a time, beginning from the tips of your toes all the way to the top of your head. This position relaxes the diaphragm for deep breathing.
And for more information, check out these essential six yoga poses.
Whether you’ve been practicing for decades or you’ve just started, remember to push yourself, but not to the point of pain.