Nail It!
Get your nails looking happy and healthy just in time for sandal season.
Whether you’re getting ready to hit the beach or just want your feet to look fab in your new sandals, it’s time to get your nails ready for summer. But the truth is, it goes more than skin deep. “Nails have a purpose and that is to protect your fingers and toes, help you pick things up, and feel objects too,” says Lauren B., CEO of Lauren B. Beauty. “Nails can also be a great indicator of overall health. Taking care of them will protect you and help with daily functions. Nails also play an important role in one’s overall appearance, and maintaining them will help you feel clean and well-groomed.”
We show off our fingers and toes more in the warmer months, but it’s important to tend to them year-round. “People pay so much attention to skin care but often neglect the skin care element of nails,” says Danielle Candido, lead educator at Gelish and Morgan Taylor Lacquer. “Regular manicures and pedicures—whether at home or in a salon—can help prevent painful problems like hangnails and severely dry and cracked skin.” Plus, regular pedicures every four to six weeks throughout the colder months makes getting beach ready super easy.
Here are tips for nailing summer nails.
1. Guys, take note
Guys often make the mistake of thinking that tending to their nails isn’t as crucial, but that’s not the case. “Both men and women can be hard on their nails by biting nails or cuticles, exposing them to too many chemicals, using the wrong products—or no products at all—or picking and peeling nails,” notes Lauren B. “It’s important for men to use lots of hydrating products on cuticles and keep cuticles trimmed. Men often don’t get manicures, but it is equally important to practice good nail health, especially since men are more physically hard on their hands, which affects cuticles too.”
2. Women, take care
Women tend to do more damage to their nails by using artificial gels and acrylics. These processes and products not only contain chemicals that are very bad for you but also can lead to a slew of other issues like infections and fungus. Mask and heal damaged nails with Cutex BB Nail Concealer ($6.99, amazon.com), which is essentially a blemish balm in nail polish form. For more color, Sally Hansen’s new Color Therapy line (sallyhansen.com) contains argan oil to nourish nails.
3. Trim and shape
Your nails will be in tip-top shape if you keep them trimmed and shaped well so they don’t break or snag as easily. “Going outside barefoot is fun but not always good,” Lauren B. says. “We need to protect our feet from harsh surfaces. Walking barefoot on the beach is a great way to naturally exfoliate.”
4. Scrub
Before you hit the shore, get rid of those dead skin cells with a scrub. Cracked heels are an indication of severe calluses and will require time, patience and care to heal properly. How often you need to exfoliate depends on the severity of the callus buildup. Aim for once every two weeks for mild to moderate calluses, and once or twice a week for heavy to severe. Be sure to not overuse a foot file—if you remove the entire layer of callus, you can actually do more harm than good because calluses protect the feet.
“Skin on the bottom of the foot is different than on other parts of the body,” Candido explains. “The soles of the feet do not contain sebaceous glands and therefore have less natural moisture. Look for moisturizers made specifically for the feet, with ingredients like urea, shea butter, jojoba and macadamia oils that will penetrate more deeply into the skin.” All of these ingredients can also be found in Morgan Taylor’s new Bare Luxury line (morgantaylorlacquer.com). Apply foot cream daily, and coconut oil at night will also help. Wearing socks to bed will lock that hydration in.
5. Moisturize
Be sure your hands are moisturized too. “Protect your hands with SPF all year long but especially in the summer,” Lauren B. says. “Hands show the first signs of aging, so protect them now and keep them perfectly exfoliated, moisturized and well-kept to prevent this.” A cuticle oil covers nails with a protective barrier that keeps bacteria out. “Leave cuticle oil at your desk or on your nightstand, or even near your toothbrush, as a reminder to use it morning and night,” Candido suggests.
6. Apply base and top coats
Extend the life of your nail polish by applying a base and top coat. “Using the same brand for the whole process—base, color and top coat—is ideal, because they are formulated to work together,” says Candido. A polish that uses gel technology but doesn’t require a lamp will deliver staying power without the damage. Try Morgan Taylor’s REACT (morgantaylorlacquer.com), which uses Gelish.
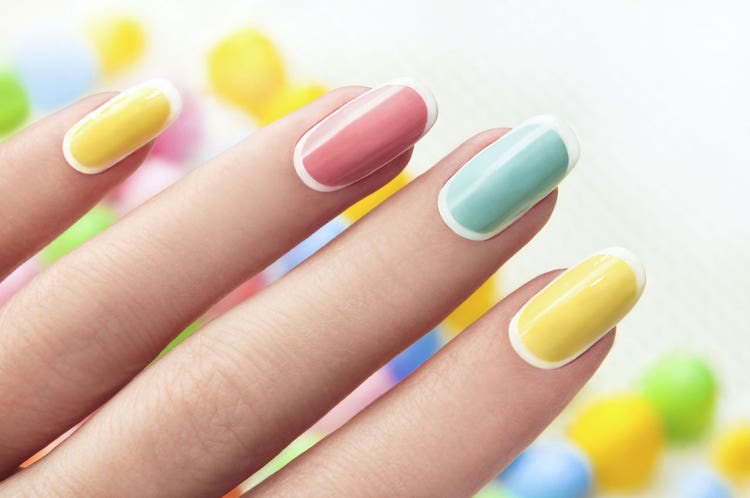
7. Go for brights
Lately it’s all about the brighter, the better when it comes to nail hues. Lauren B. says, “This season I’m seeing a lot of purple, like our Meet Me on Melrose ($18, laurenbbeauty.com), as well as lots of soft pinks, blush, nudes and peach for nails. For toes, it’s all about bright blues, and classics like red and pink always look great on a pedicure.”
Photo credit: Marina Kirezhenkova 123RF